


What Is Flashing on a Roof? 5 Things Every Homeowner Should Know
September 2025
When was the last time you really thought about your roof? For most homeowners, it usually happens only when something goes wrong, a storm rolls in, a shingle flies off, or an ugly stain creeps across the ceiling. But here’s the twist: the biggest culprits behind roof trouble aren’t always the things you can see, like missing shingles. More often, it’s the small, overlooked details, especially flashing, that end up causing the biggest headaches. The solution could be figuring out the answer for What Is Flashing on a Roof?
What Is Roof Flashing and Why Is It Important?
Roof flashing is a thin metal, often galvanized steel, aluminum, or copper that is carefully placed on your roof to keep water out. Flashing works like a shield. It directs rainwater away from cracks, joints, and roof penetrations (like chimneys or vent pipes) so that water doesn’t seep inside your home.
Think of it this way: shingles protect the big areas of your roof. Flashing protects the little trouble spots. Without flashing, even the best shingles won’t stop leaks near chimneys, skylights, or valleys. That’s why many roofing experts say, “The roof isn’t truly waterproof until the flashing is properly installed.”
Why is roof flashing important? Because leaks often start small. Water sneaking behind a vent pipe or into a roof valley may not show up right away. But over time, it can rot wood, damage insulation, and cause mold inside your attic. A simple strip of metal could save you thousands of dollars in repair costs.
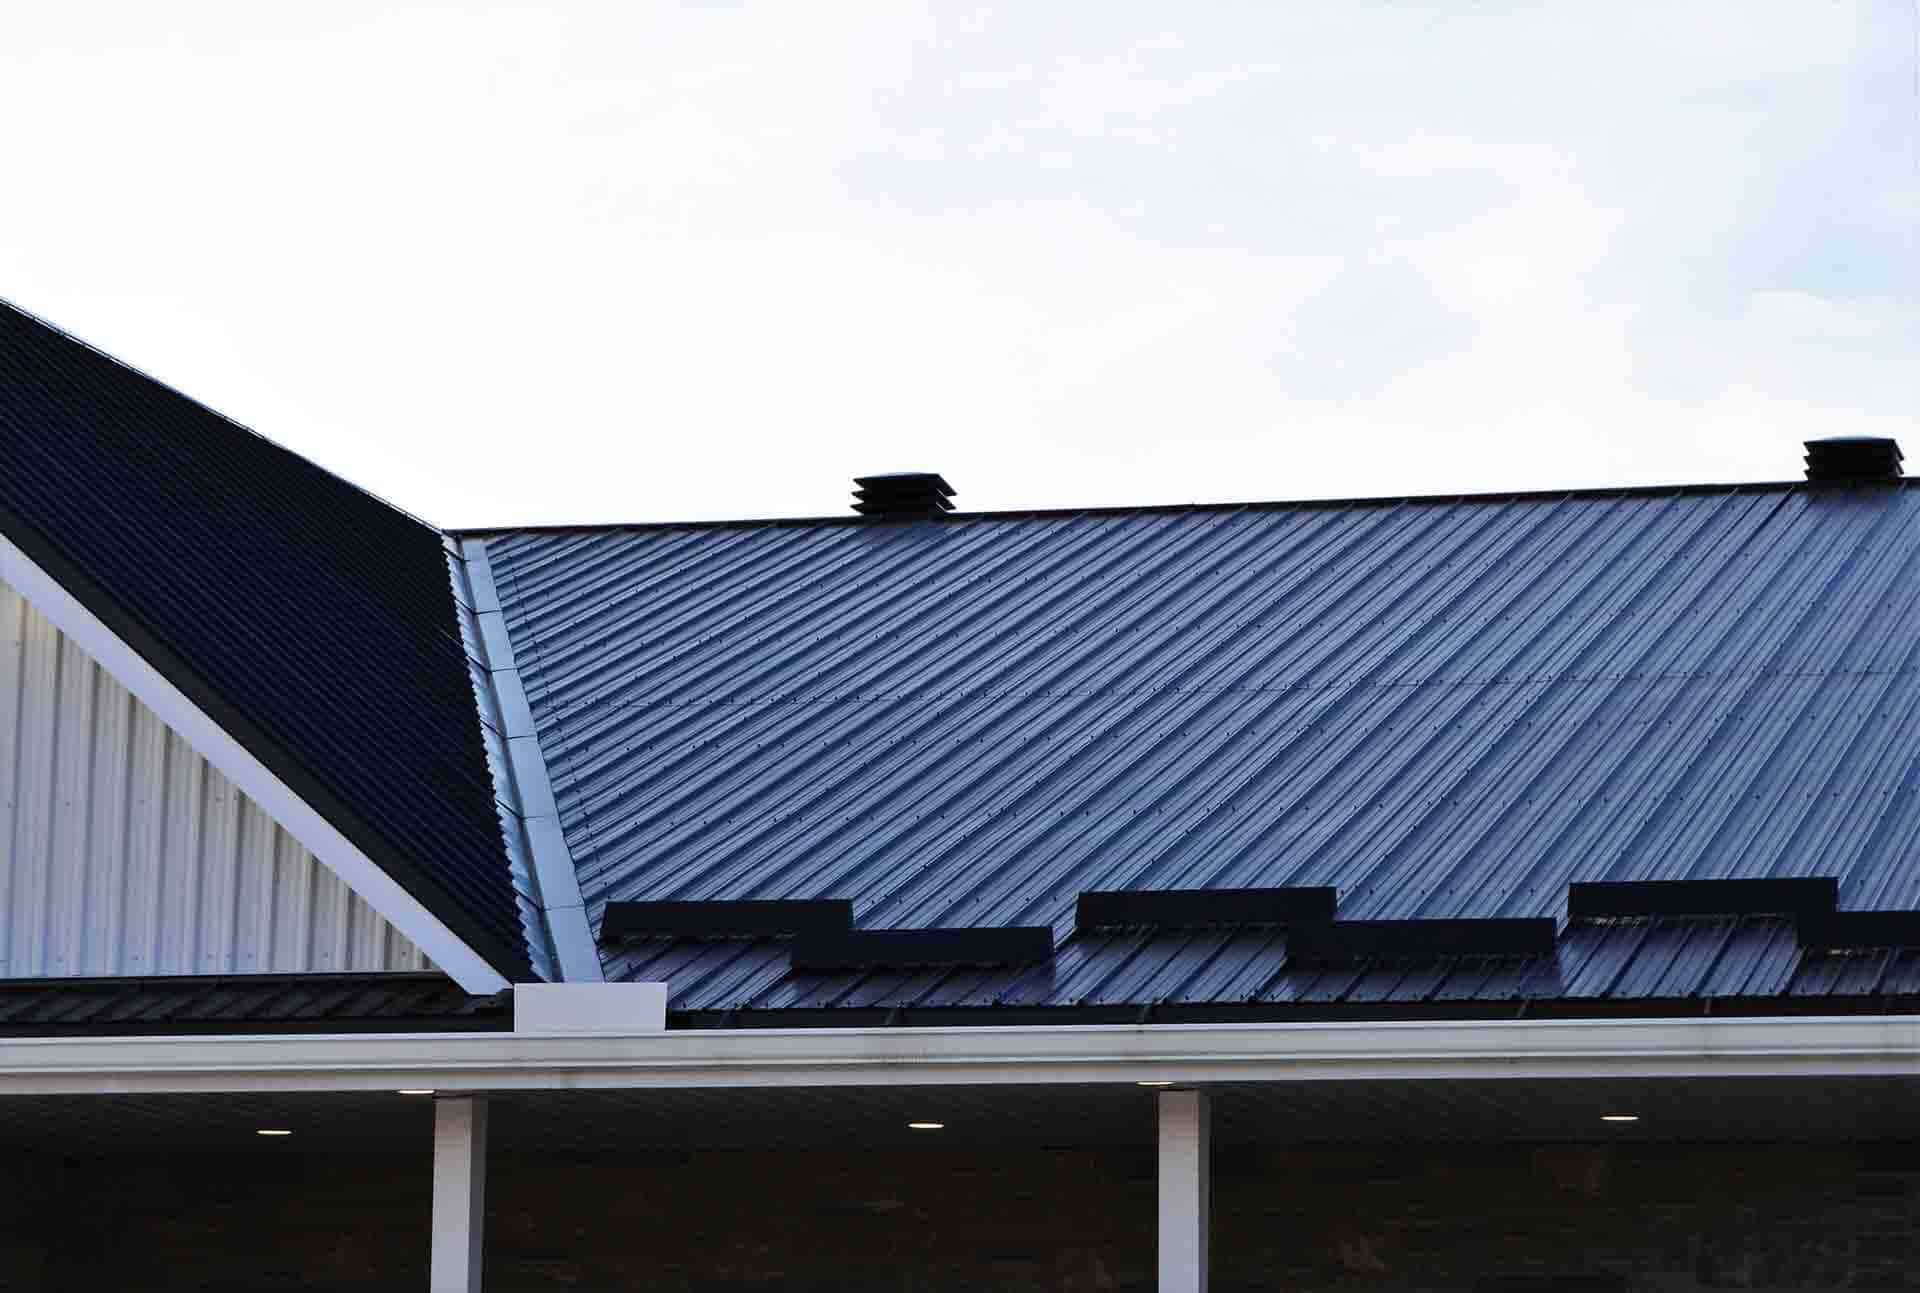
Types of Roof Flashing
There isn’t just one kind of flashing. Different parts of your roof need different roof flashing types. Here are the most common ones:
- Step flashing: Small, L-shaped pieces that sit where the roof meets a wall. Each shingle overlaps the flashing to push water away.
- Counter flashing: Used with chimneys. It covers base flashing to keep water from getting behind the brick.
- Base flashing: Found around vertical features like chimneys or skylights. It ensures water runs down to the shingles.
- Valley flashing: Placed in roof valleys (where two slopes meet). It directs water off the roof quickly.
- Vent pipe flashing: Seals the area where pipes poke through your roof.
- Skylight flashing: Special kits designed to waterproof skylights.
These are the common types of roof flashing that keep your roof watertight. Each piece has a unique job. Miss one, and you’ll notice foul sooner or later, most likely during the next heavy rain.
(Pro tip: Ask your roofing contractor what kind of flashing your home has. Many homeowners don’t know until a problem shows up.)
How Much Does Roof Flashing Cost?
Now let’s talk about money. This depends on the size of your roof, the material used, and where it needs to be installed.
- Material costs: Galvanized steel is the most common and affordable. Aluminum costs a bit more. Copper is the most expensive but also the longest-lasting.
- Labor costs: Installing flashing around a chimney or skylight is more complex than along a wall, so the price varies.
- Repair costs: If your flashing is loose, bent, or rusted, fixing it may cost just a few hundred dollars. Replacing flashing as part of a full roof replacement can add more to the total project.
On average, homeowners might spend $200–$600 for minor flashing repairs and several thousand if the whole roof needs new flashing. However, since water damage from bad flashing can cost far more than the flashing itself, the investment is well worth it.
Think of flashing as cheap insurance for your home.
How to Install Roof Flashing Against a Wall (and Why to Hire a Pro)
Ever wondered how flashing is put in place? Professionals cut small L-shaped pieces, tuck one end under a shingle, and let the other end run up the wall. Then, they repeat the process with each row. Finally, siding or counter flashing covers the top edge to keep water out.
Sounds simple, right? But here’s the catch: flashing has to be properly installed. If even one piece is misplaced, water can sneak in. That’s why pros often use roofing cement and nails in just the right spots to make sure water flows away from the fascia and down the roof.
If you’re a DIYer, you might be tempted to try it. But roof flashing is one of those jobs best left to a roofing contractor. The cost of hiring a pro is nothing compared to the cost of repairing water damage from a leak you didn’t seal correctly.
Other Things to Know About Roof Flashing
- Roof flashing materials: Most flashing is metal (galvanized steel, aluminum, copper). But sometimes roofers use plastic or rubber around vent pipes.
- Flashing roof to wall: This is one of the most common problem areas. Step flashing and counter flashing must work together.
- Roof valley flashing: Roof valleys carry the most water. That’s why valley flashing is extra important.
- Skylight and chimney flashing: These areas are leaking hot spots. Make sure flashing is in good shape whenever you inspect your roof.
Small Strips, Big Protection
Flashing might not be the first thing you think of when it comes to your roof, but it’s one of the most important. Those thin metal strips stand guard at the spots where leaks are most likely to happen.
Here’s the truth: roofs don’t usually fail in the middle of the shingles. They fail where flashing is missing, loose, or poorly installed. And when that happens, the repair bill can be steep.
So our advice? If you’re planning a new roof or just worried about leaks, don’t overlook the flashing. Ask your roofing contractor to inspect it, repair it, or replace it if needed.
It’s a small detail that makes a big difference and taking care of it now can save you from headaches, stress, and costly repairs later.
Need expert help with roof flashing or a full inspection? Reach out to B-Cheema Roofing today and protect your home with confidence.
B Cheema Roofing Ltd. Began business in 1999 and has been serving residents and businesses in Vancouver and Lower Mainland... Read more